Dollar Tree Shelf Liner Cricut Hack
This little Cricut hack took my crafting to a whole new level! Since I have discovered this hack I haven’t used vinyl as a stencil since. I mean, why would I? This dollar tree shelf liner cost only $1.00 per roll and it’s 6 inches longer/wider.


Below is a step by step walk through on how to make a simple wooden sign using the Dollar Tree shelf liner as a stencil and transfer tape.
Get your rolls ready. Cut a piece from each roll to size for your stencil.
Choose an image or saying for your stencil and cut with your Cricut or Silhouette machine. I use the lowest setting for this. It’s a little thinner than vinyl.


Get your rolls ready. Cut a piece from each roll to size for your stencil.
Choose an image or saying for your stencil and cut with your Cricut or Silhouette machine. I use the lowest setting for this. It’s a little thinner than vinyl.


Remove the letters or image with a Cricut tool or similar tool you can buy on EBay , that’s where I got mine.
Once you remove the letters set the stencil you’ve created aside.
Take the clear shelf liner a.k.a transfer tape back off and place the transfer tape over your stencil. Take your time and make sure it’s lined up close to the same. Watch for air bubbles, they can make it difficult to keep the stencil straight.

Next peel the back of the paper of the stencil slowly and carefully keeping the stencil on the transfer tape.

Now it’s time to put your stencil down on your piece of wood. I decided to stain my wood a dark walnut color. I did this 2 days prior but if you decide to do it the same day wait at least 30 minutes if you’re using a fast drying stain. The stencil will stick but it might take a little finesse.
Line up your stencil on the wood making sure it’s straight, level and centered. Once you have it in place press and smooth it down into place. Very slowly and carefully remove the transfer tape leaving the stencil on the wood.


This next step some find optional but it’s a complete must for me. I use Modge Podge on all my stencils as a sealant to prevent the paint from bleeding under the stencil. I put a very thin coat of Modge Podge on and wait 10-15 minutes for it to dry. For those who have never used Modge Podge it goes in a milky color and dries clear.
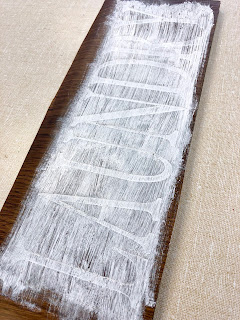
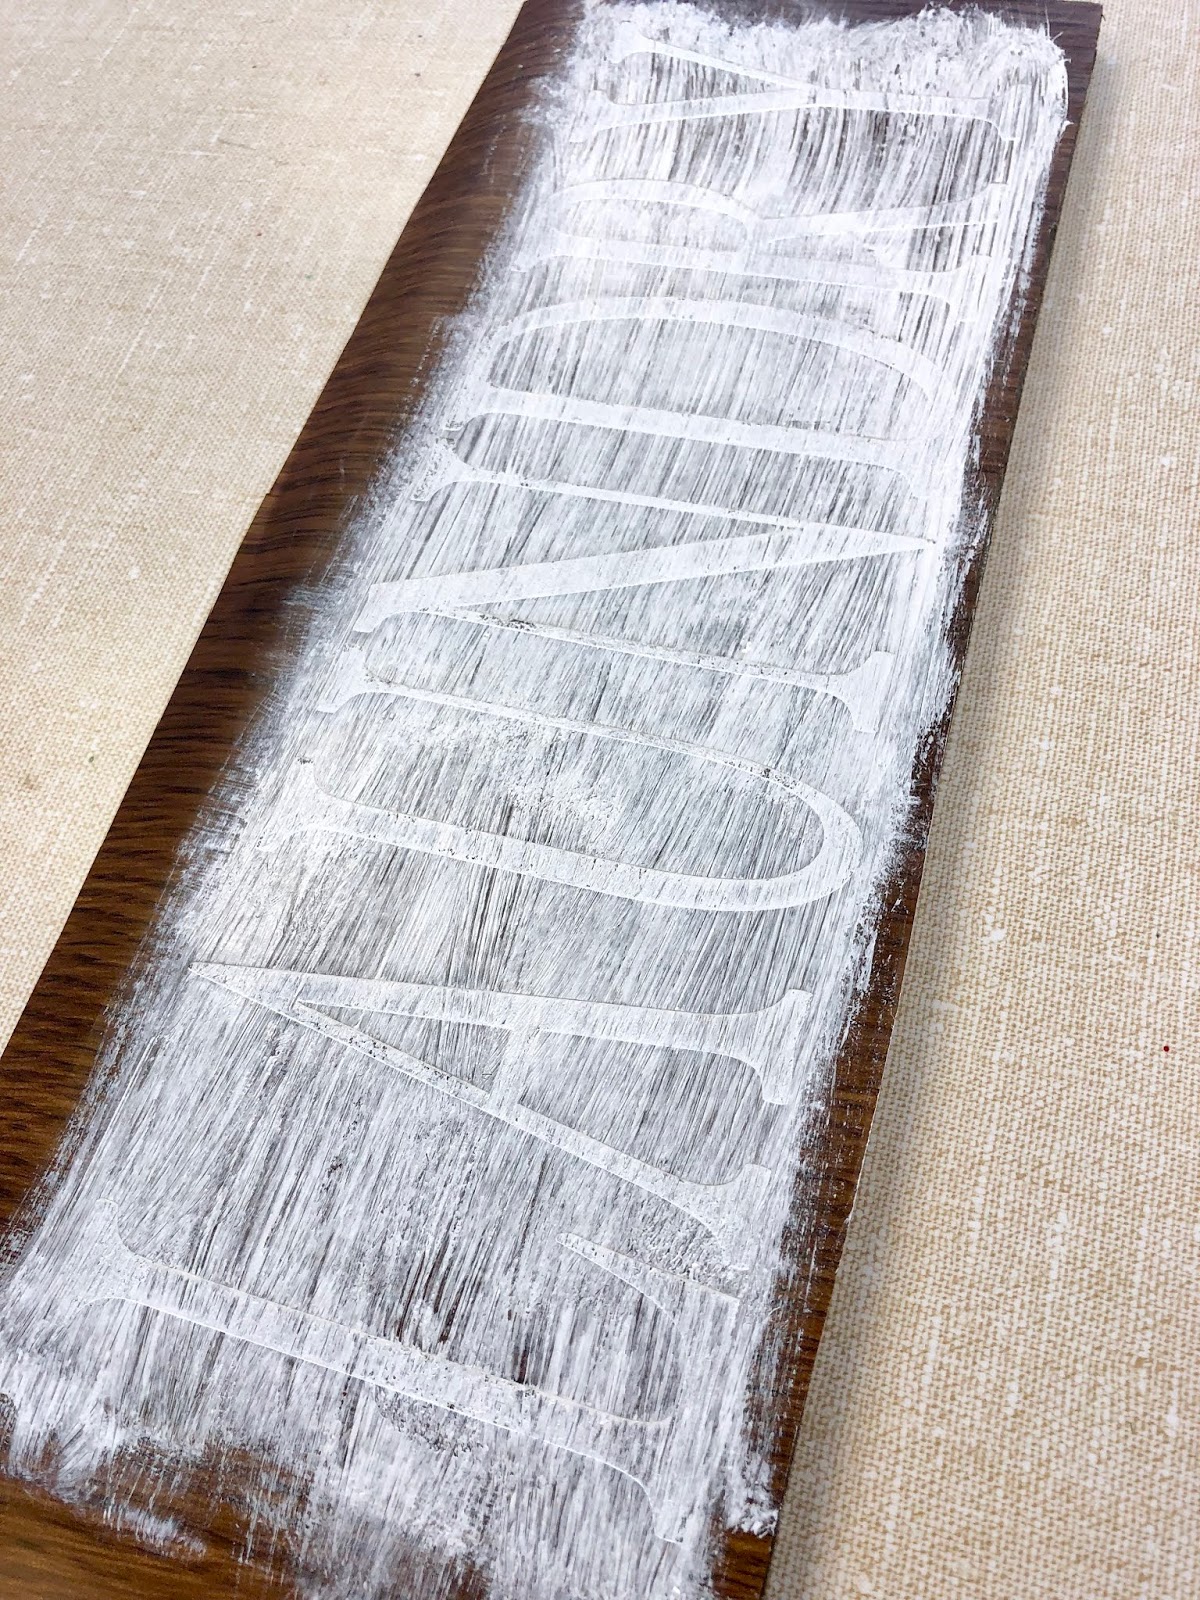
Last step is painting your sign. Hardest past is choosing a color! I wanted a rustic look so I chose a stained wood and white lettering but you can do any color combo! Using a paint brush lightly brush your color all over the stencil filling in all the corners.
* Tip: If you’re going for a rustic farmhouse look use a sponge and very very lightly rub the paint on. Almost not filling in the stencil all the way with paint. You will you a very minimal amount of paint this way.
Wait for your paint to dry and peel your stencil off!
You are left with a beautiful sign with nice crisp clean lines!


After a lot of search, suddenly I came across your blog. Very nicely written. I was searching for the best quality digital laminate sheets for my living room. The design and texture is just awesome. I can say digital laminates are the best.. Thanks for sharing such a nice article, it helped me a lot. Keep going. Thumbs Up!
ReplyDeleteLovely blog and nicely written. I myself mostly prefer using blockboard as the block board price is very much affordable, tough and the durability is superb. Thanks for sharing this blog admin.
ReplyDeleteWhat a mindblowing blog, I love it! The textures and colours of Digital Laminates are so fascinating. I recently installed at my living space, believe me, it has an amazing look and feel. Lovely blog, keep sharing more afterwards.
ReplyDelete